
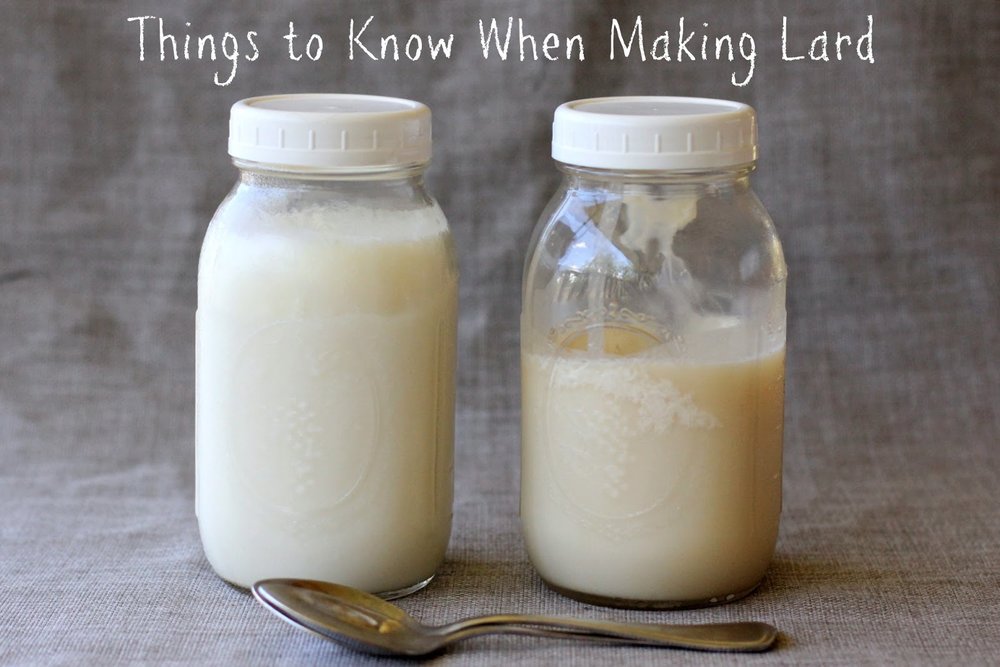
Things to Know When Making Lard


Lard really needs to make a come back. Have you ever had the delight of cooking with it? It's seriously underrated. And making it is super easy, and comes with a delicious little treat at the end - this treat goes by the name of lardon.
My first adventure into making lard happened with a packet of pork fat kindly given to me by the farmer we buy our pork from - a local free range, pastured pork farm where the pigs run around like cattle in a paddock. They're the happiest little pigs around.
All that happiness, sunshine, green grass and fresh air makes the most delicious pork, and consequently very good lard.
I must confess the pork fat found a home in a freezer for a little while, whilst I wondered how hard it was to make lard and whether I was up to the task. One day I finally bit the bullet and decided to do it, and afterwards I wondered what had taken me so long.
After a bit of googling, I discovered that making lard is as simple as putting the fat into the slow cooker, and leaving it alone for a good while. I've only made lard once, so I'm no expert, so if you're after a recipe I will point you in the direction of this very helpful blog post that I used as my guide to making lard.
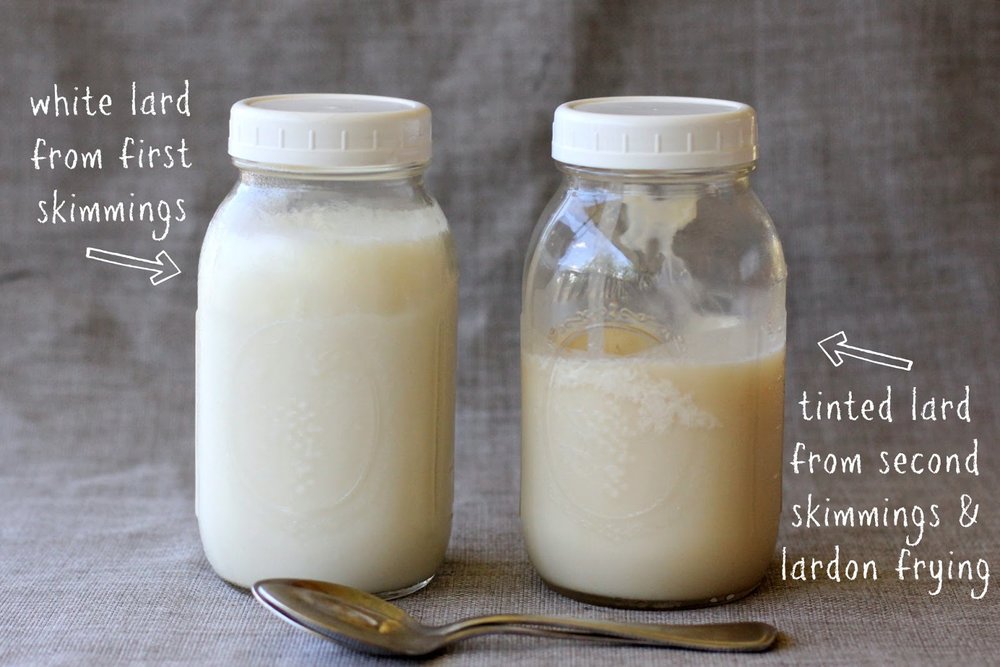
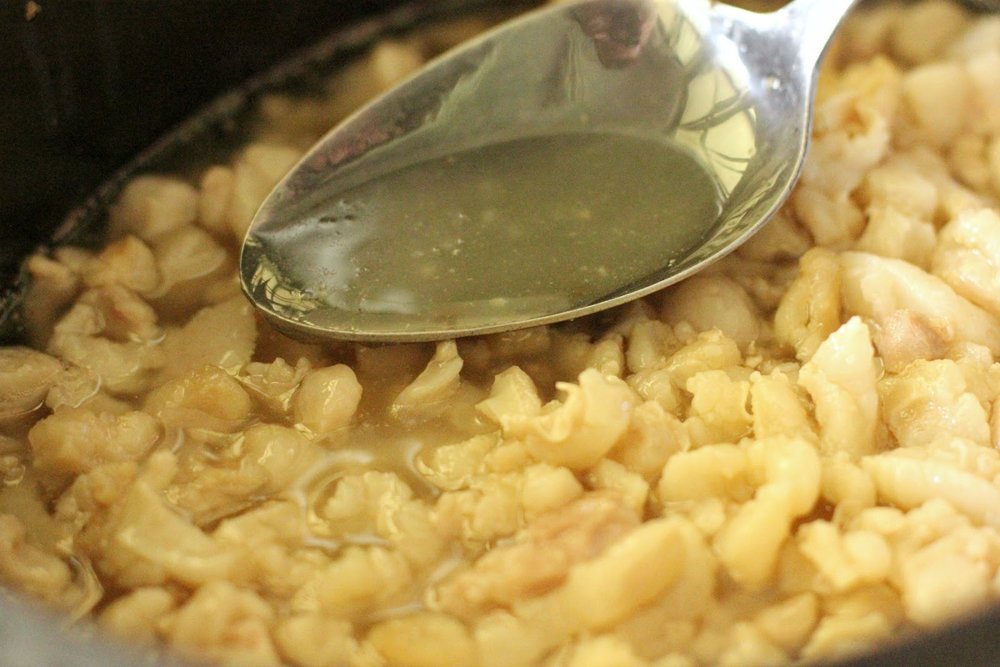
When you make lard, you end up with two kinds. The white, snowy and non-porky smelling lard, and the browner lard that will remind you of bacon when you use it in cooking (which can be a little torturous). Both are equally as useful. There's zero waste when making lard.
I used up the tinted lard first and it added a delicious flavour to all dishes.
How do you use lard in your cooking? Exactly the same way as you'd use olive oil or butter. A small bit into the pan melts into the most delicious smelling fat that is perfect for sauteing or frying up any vegetable or meat for any purpose. Using lard to gently fry vegetables for soup added a wonderful flavour to the soup.
I've also heard that you can use the white lard in pastries but I've yet to try it myself.
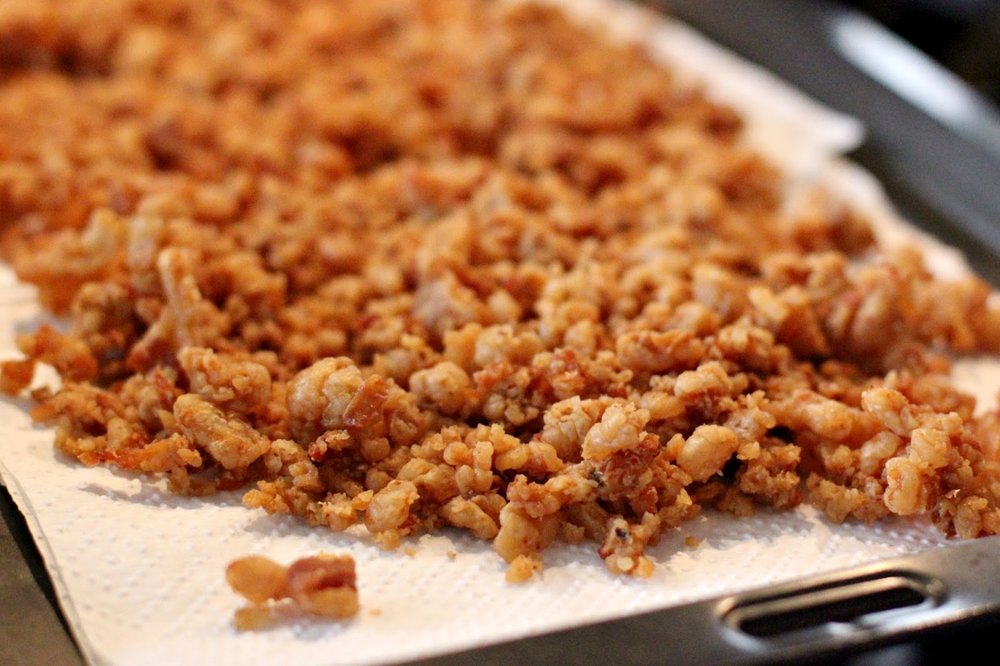


The lardons are what you get at the end of making the lard. The little brown bits of fat that you're left with after skimming off all of the liquid lard. Those bits are fried up, in their own fat, until crispy and brown and absolutely delicious.
They're like little bits of crackling.
After eating a few, pop the rest in a jar or box and store in the fridge. I used them up by adding them as sprinkles to salads, or on top of savoury dishes and as part of stuffing fillings. Just a few add a lovely flavour and texture.
But be careful when you're first frying them up!
I tried frying up a handful in a normal frying pan and it was a frightening experience. Those things are literally blobs of fat and so they pop, sizzle and explode around the pan. After using a splatter guard as a shield from the evil creatures, I swapped to a large, deep sided pot that I use for cheesemaking or making stock in. With the lardons all the way down in the bottom of it, they behaved much better and ceased attacking me.
So, after my first experience making lard, there are a few things I learned.
- It's easier than you think, and the finished product is a wonderful addition to any kitchen
- Don't use a shallow frying pan to cook the lardons as they become dangerous
- Don't store the lard in a tall mason jar like the ones I've used. The lard sets quiet firmly and it's not that easy to get it out of the bottom of the jar now it's nearly finished. I'll be storing my next batch in shorter jars
- It's worth your while to source good quality pork fat, most preferably from a small producer that gives their pigs unlimited access to grass and fresh air. A farmer who is passionate about their pigs should be more than happy for you to visit their farm before making your first purchase of their product
Have you ever made lard? Will you be giving it a go?
Subscribe to receive posts via email and never miss out again